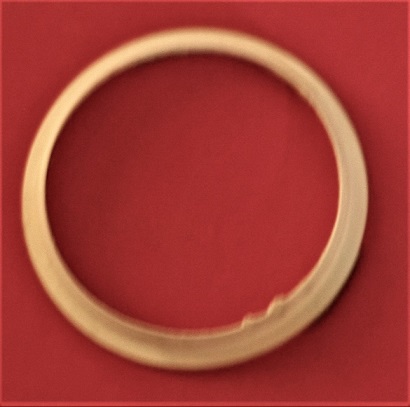
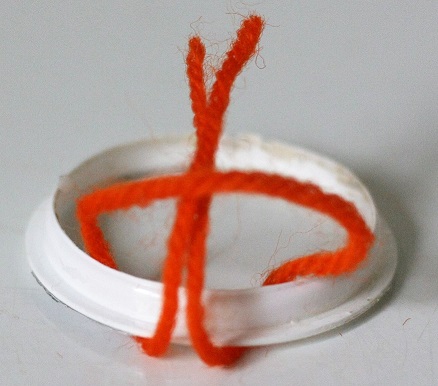
You can use anything round for the rim. Cut a piece from a toilet paper roll or something similar. I used the bottom of a used K-Cup.
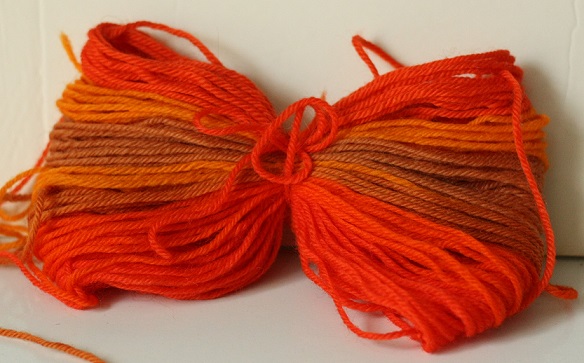
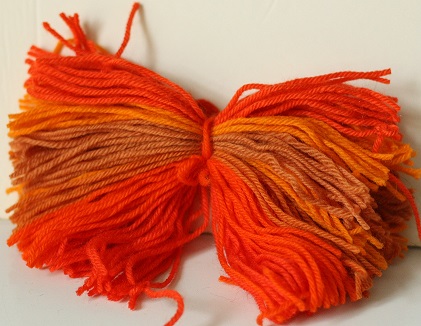
The length of the yarn will depend on how small or large your hat will be. I wrapped a bunch of yarn around some dowels. Tied it in the middle to hold them together and then cut the ends. Leaving me with several strands to work with.
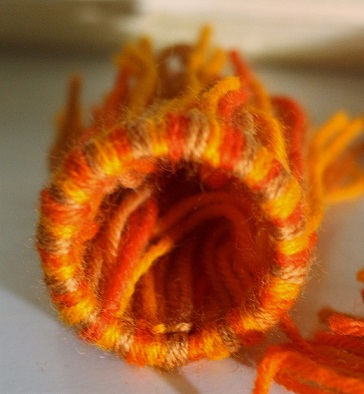
Now it is time to attach the strands around the rim.
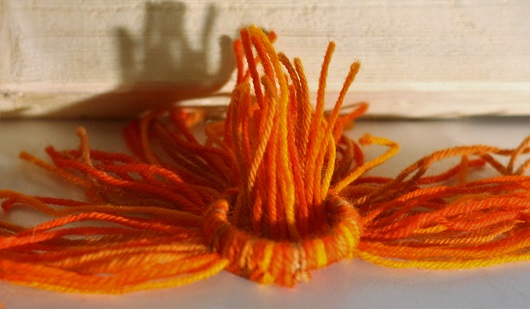
Keep going until you have covered the entire rim.
Now we will fold the yarn under the rim and up through the middle.
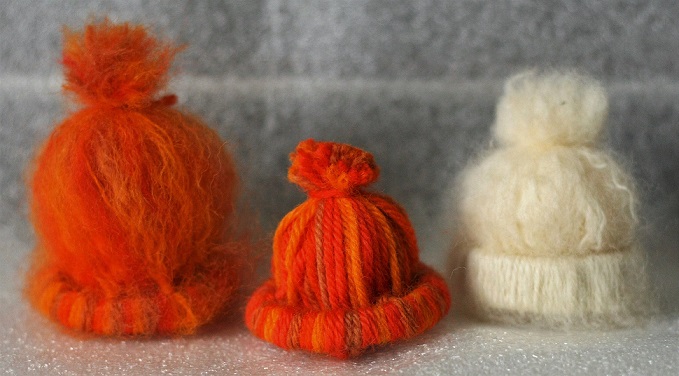
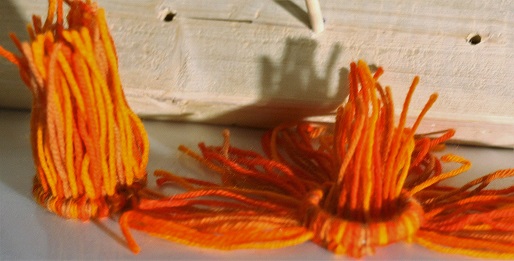
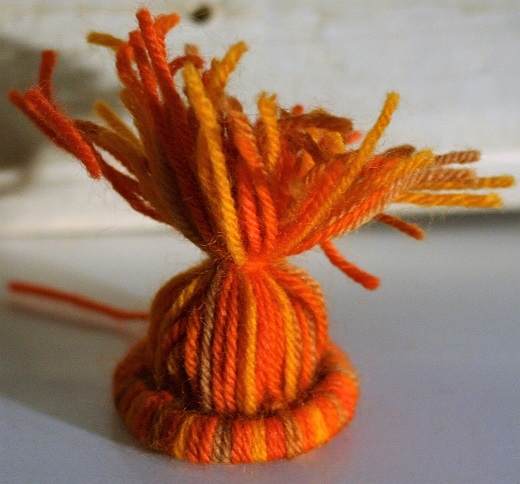
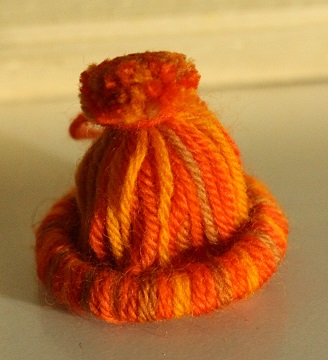
Next we will tie some yarn near the top where we will make the pom-pom. Cut to desired size.
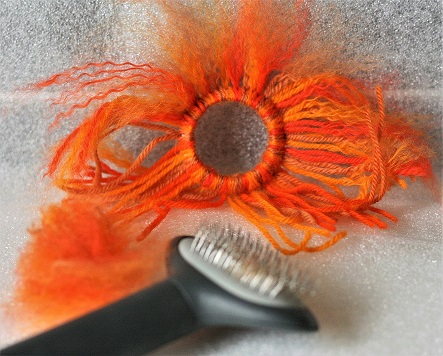
If you would like fuzzy hat, use a cat hair brush. Brush strands before pushing them up through the rim.
I save the fuzz from the brush to use as hairs for my clay dolls. But that is for another post.
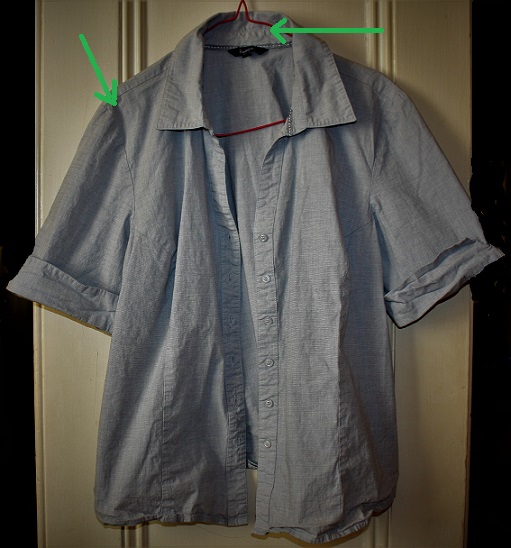
I had this shirt that sat hanging in my closet that I just couldn’t get rid of because I liked the colour and fabric, but it was just not my style. So, I grabbed my seam ripper, took the collar and arms off and sewed it back up.
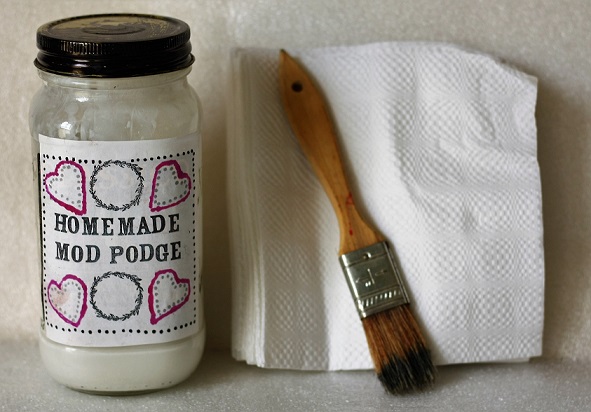
I have to watch my spending now more than ever before. One thing I use a lot of is glue. If there is a project I am making that needs to be painted and has a surface that paint does not usually cover well, my go to is covering the surface with a one ply layer of a napkin. This requires Mod Podge. It is not cheap, so I make my own. All you need is regular (dollar store) white school glue. Take one cup of glue and add 1/3 cup of water. Works for me!
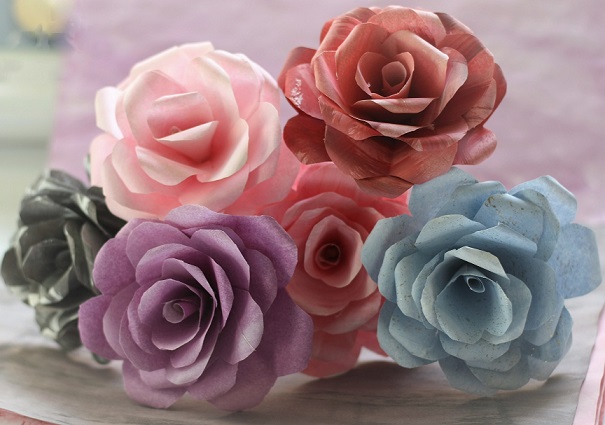
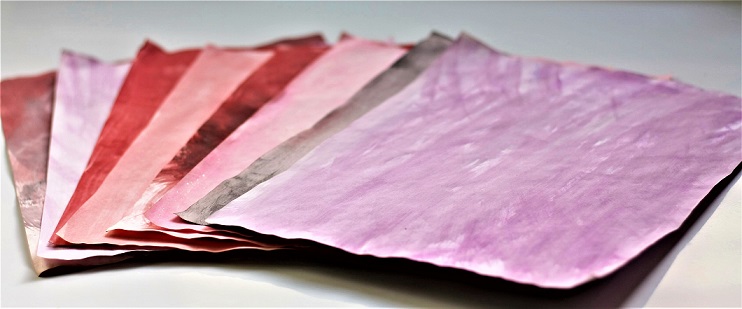
These paper roses are made with regular white computer paper. I watered down acrylic paint, painted one side then hung to dry. The paper did curl so I kept them under a heavy stack of books for a few days.
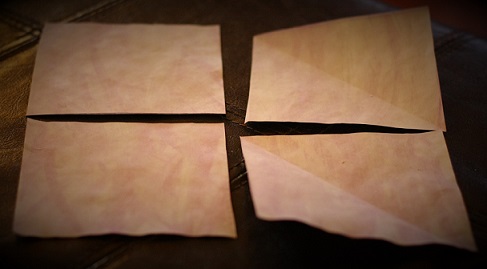
Fold this large square in half, then in half again. You will end up with folds that will be four squares. Cut these into four squares.
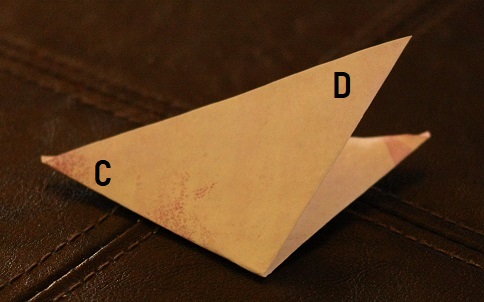
Fold one corner up to the one above, making a triangle. Fold side A to B, making a smaller triangle.
Fold C to D, making an even smaller triangle.
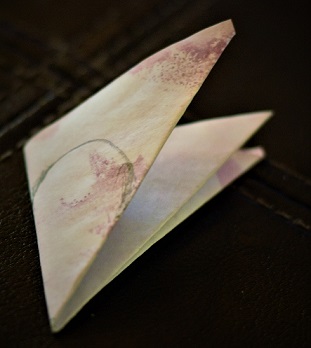
Draw a half heart shape on the paper with a pencil on the crease. Cut out the shape.
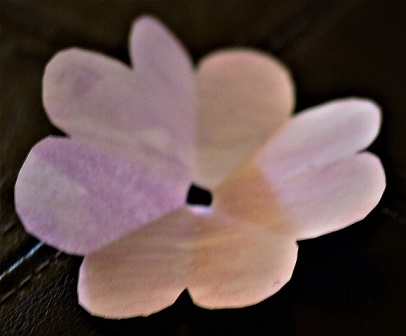
Cut a small part of the bottom of. This will leave a small hole in the middle of the petals.
This is what it should look like:
You can see it looks like four heart shaped petals. I call these the petal rounds. Most of these will have to be cut into smaller shapes.
You will be making these individual pieces:
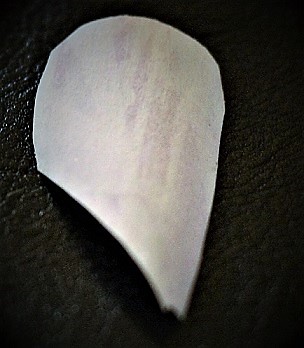
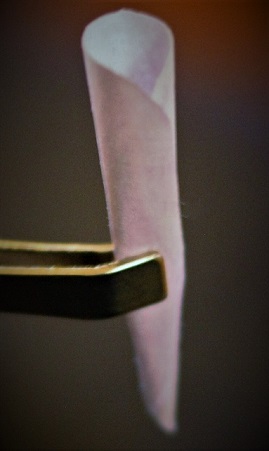
Step One: Take one of the petal rounds and cut one half of the heart shape out of it. This will be the cone shaped center of the rose. Once you shape the cone, wrap it around your stem. I use wood skewers or wire.
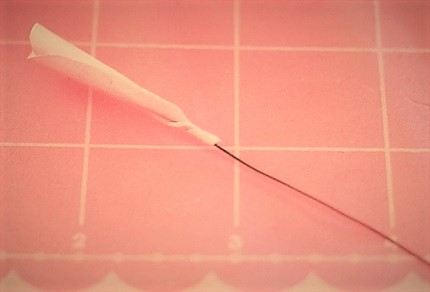
Once you have it around the stem, unroll it a bit and apply glue. I let it dry well before continuing so it does not slide around. Everything else glues on to it. Making sure it is secure is important.
There will be a total of six petal layers.
The remainder of this petal round will be three and a half petals. This will become your sixth (and last) petal layer. Glue one edge of the petal to the other, slightly overlapping it. Leave it to dry.
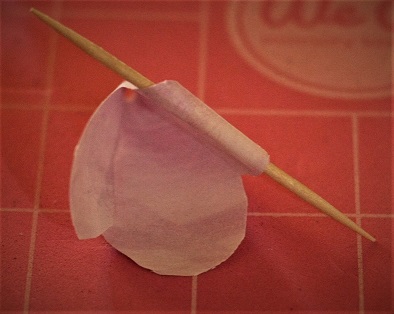
Before adding the rest of the petal shapes to the base, take a wood skewer, {or whatever you have that will work} and curl each petal around it like this:
Step two: Let’s start with the first petal layer. Using the second petal round, cut one whole heart shape out. Glue one side of the petal to the other. Put a dab of glue on the bottom of the cone shaped center, slide the heart shaped petal up your stem and gently form it into position.
With the remaining three heart shapes. Glue one side to the other. Curl petal tops. This will become your fifth petal layer.
Step three: Take the third petal round. Cut out one and a half heart shapes and use the same procedure as mentioned above. Dab some glue to the bottom of the first layer. Make sure the next set of petals are not in the same place as the previous one. See above photo. This will leave you with two and a half petal shapes. Glue one side to the other and set aside. This will be your third petal layer.
Step Four: Take the third petal layer that you just made and add it following the same procedure mentioned above.
Step Five: Using your last petal round, cut out two and a half heart shapes. Glue one side to the other and follow the same procedure as above. This is your fourth layer.
Step Six: Add the fifth and sixth petal layers.
From here you can wrap your stem in green floral tape, you can also add leaves and greenery to it. It’s all up to you to decide how to finish it off.
I hope you enjoyed this tutorial. If you try it, let me know and I will link your photo here for others to see.
I made these Christmas tree ornaments from used k-cups. An easy craft to make with your family. Acrylic paint and plastic don’t work well together. Whenever I have a difficult to paint object, I go to my usual method, using watered down school glue and used one layer of a cheap napkin to cover the item. Let dry and decorate any way you wish.It does take time for the napkin and glue to dry before you can paint it. You could use good markers instead.